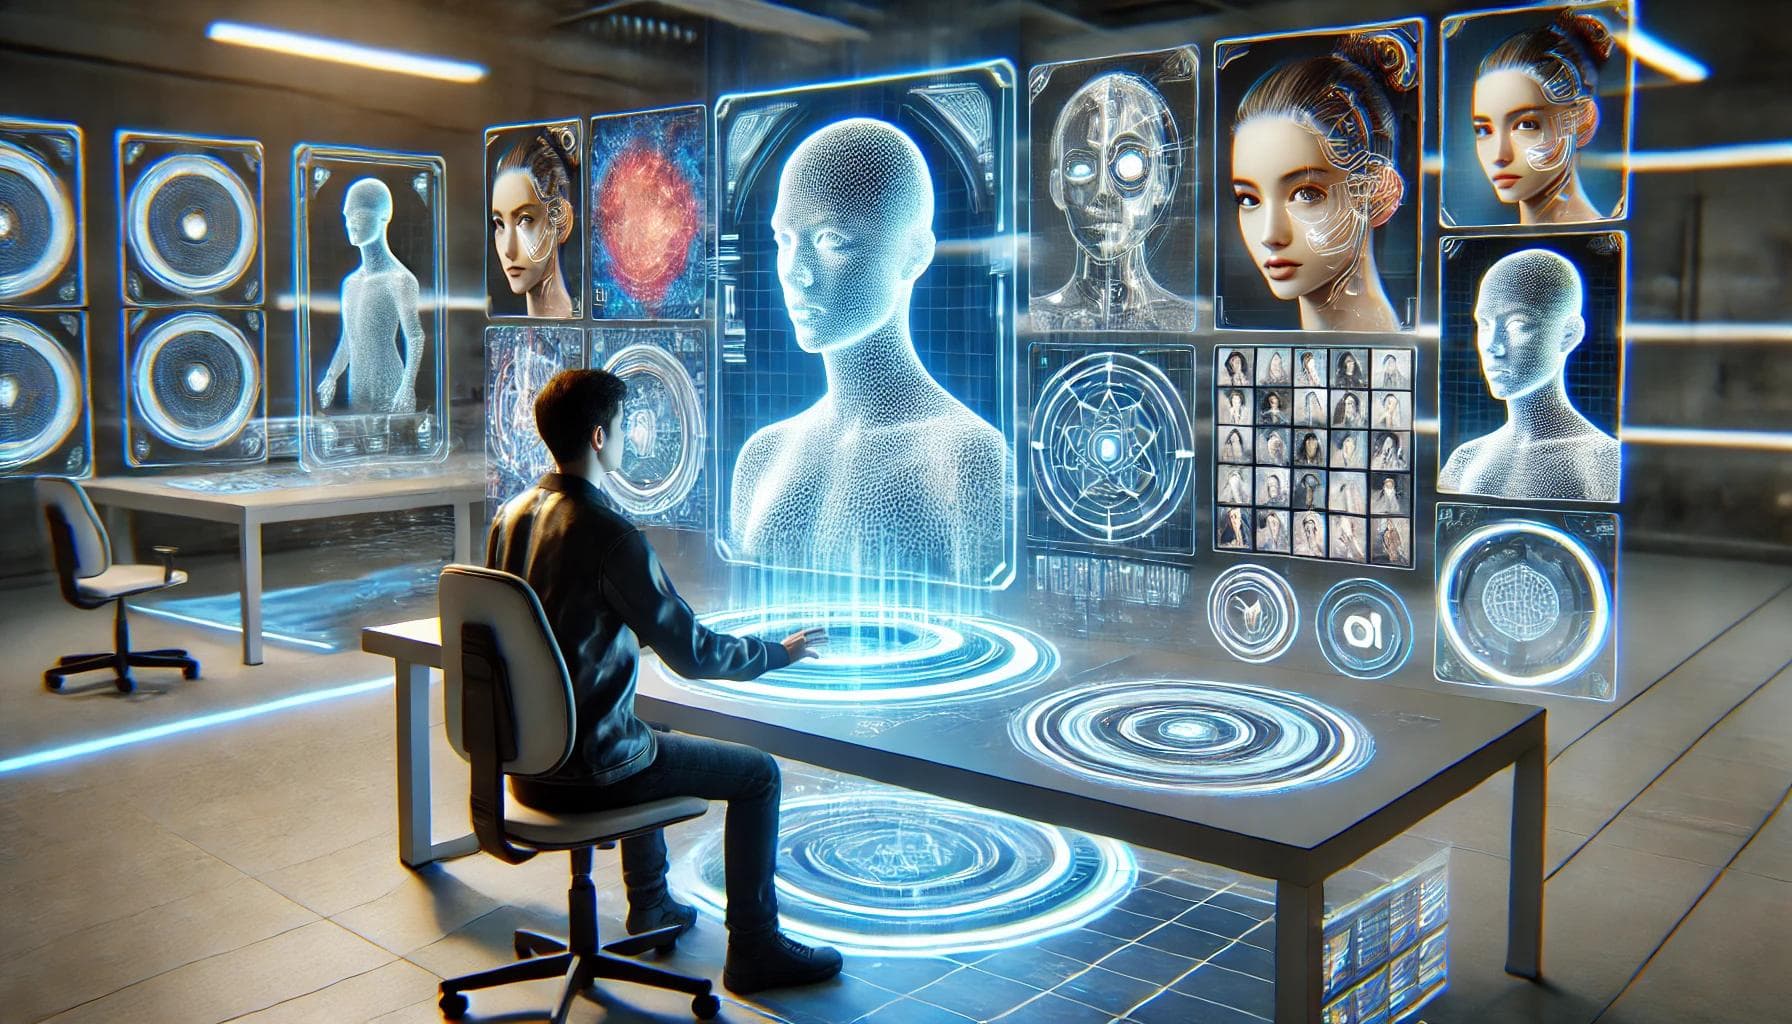
How to Train a FluxAI Model to Generate Images of Yourself or Others
Have you ever wanted to create AI-generated images that look exactly like you or someone you know? Thanks to the power of FluxAI, you can now generate personalized, lifelike images with minimal cost and effort.
In this guide, we’ll take you through a step-by-step process for training a FluxAI model. Whether you're aiming for professional headshots, creative artwork, or AI-enhanced social media images, you’ll master everything from dataset creation to model fine-tuning and testing.
1. Dataset Creation
Gathering and Preparing Images
The quality of your training images directly impacts the results. Follow these steps to prepare an effective dataset:
- Number of Images: Use 10-15 high-quality images to avoid inconsistencies.
- Variety: Include diverse poses, angles, and backgrounds for better feature recognition.
- Avoid Distracting Elements: Remove repetitive props (e.g., the same eyeglasses) to prevent bias in the AI output.
Tip: Compress your images into a .zip file for easy uploading to the training platform.
Optional: Creating Caption Datasets
For enhanced results, create captions describing each image, e.g., "A person smiling under a tree." Save these captions as a .txt file. If skipped, automatic captioning tools can still work effectively.
2. Model Creation and Fine-Tuning
Setting Up the Model
Go to your preferred AI platform (e.g., Replicate) and create a new model.
Upload your prepared .zip file of images.
Define a unique trigger word (e.g., "photo_of_john") to identify and activate the model.
Training Parameters
- Number of Steps: Train the model for 1,500–2,000 steps. Fewer steps reduce time but may compromise quality.
- Auto-Captioning: Enable auto-captioning if manual captions aren’t available.
- GPU Usage: Training with advanced GPUs like H100 reduces processing time significantly.
Storing the Model on Hugging Face (Optional)
For easier access and sharing:
Create a repository on Hugging Face.
Generate a write-access token and link it to your training platform.
Upload your finalized model securely.
3. Model Inference and Testing
Running the Model
Once trained, the model can be tested on platforms such as:
- Replicate: Direct usage with minimal setup.
- Google Colab: Ideal for those familiar with coding.
- Local Machine: Requires sufficient hardware.
- Hugging Face: Convenient for integrating with other tools.
Adjusting Lura Strength
Lura strength controls the influence of the fine-tuned model:
- High Strength: Outputs closely resemble training images.
- Low Strength: Combines features with the base model for more generic results.
Testing with Prompts
Use your trigger word to experiment with various prompts:
- "photo_of_john, professional headshot, DSLR quality"
- "photo_of_john as Superman flying in the sky"
FluxAI excels at generating stunning, customized results, even with simple prompts.
Additional Use Cases for FluxAI Models
- Professional Headshots: Create polished photos for business profiles.
- Creative Art Projects: Generate unique, stylized images for social media or branding.
- Artistic Style Transfer: Transform images into distinct art styles.
FluxAI offers unmatched flexibility for both personal and professional applications.
Conclusion
Training a FluxAI model is a simple, cost-effective way to unlock AI-powered image generation. By following the steps in this guide—creating datasets, fine-tuning models, and testing with prompts—you can generate realistic, high-quality images tailored to your needs.
Whether for professional work or creative experiments, FluxAI provides an accessible and powerful solution. Start creating today and discover the limitless potential of AI image generation!
Generate Images, Chat with AI, Create Videos.
No credit card • Cancel anytime

