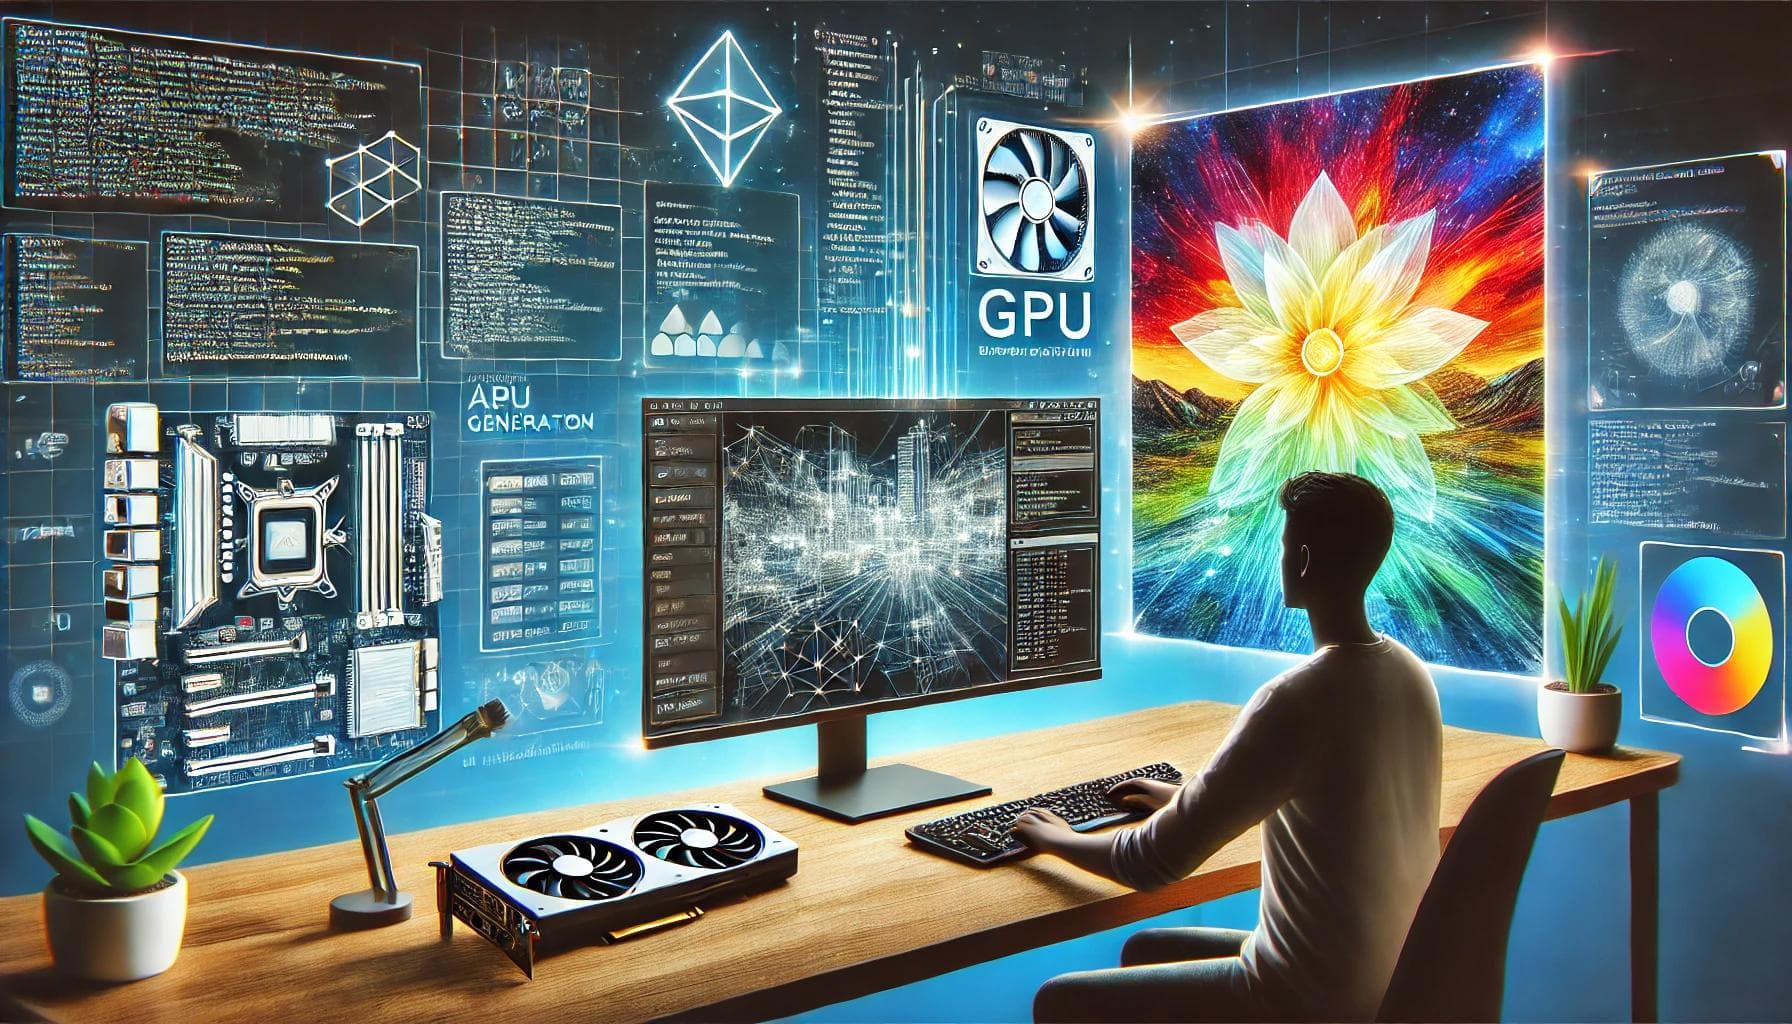
Unlock the power of AI image generation with Stable Diffusion 3! Whether you're an AI enthusiast, developer, or researcher, this guide will walk you through the process of downloading and installing Stable Diffusion 3 step by step. Get ready to transform your creative projects with one of the most advanced AI tools available.
Prerequisites
Before you start, ensure you meet the following requirements:
System Requirements
- GPU: An NVIDIA GPU with CUDA support is highly recommended.
- RAM: Minimum 8GB, though 16GB or more is ideal for better performance.
- Storage: At least 10GB of free disk space is required.
Necessary Software
- Python 3.8 or Higher: A versatile programming language essential for AI projects.
- Pip: Python's package installer to manage required libraries.
Creating a Virtual Environment
A virtual environment ensures your project dependencies remain isolated. Follow these steps to create one:
python -m venv stable_diffusion_env
Activate the virtual environment:
- Windows:stable_diffusion_env\Scripts\activate
- macOS/Linux:source stable_diffusion_env/bin/activate
Step-by-Step Installation Guide
Step 1: Install Python and Dependencies
Ensure Python is installed on your system. Download it from the official Python website. Once installed, use pip to install necessary libraries:
pip install torch torchvision torchaudio pip install transformers diffusers
Step 2: Download Stable Diffusion Model
Create an account on Hugging Face.
Accept the model license agreement.
Use the following Python script to download the model:
from diffusers import StableDiffusionPipeline model_id = "CompVis/stable-diffusion-v1-4" pipe = StableDiffusionPipeline.from_pretrained(model_id) pipe.save_pretrained("stable_diffusion_model")
Step 3: Running Stable Diffusion
Generate an image using the downloaded model:
from diffusers import StableDiffusionPipeline import torch model_path = "stable_diffusion_model" pipe = StableDiffusionPipeline.from_pretrained(model_path, torch_dtype=torch.float16).to("cuda") prompt = "A beautiful landscape painting of a sunset over a mountain range" image = pipe(prompt).images[0] image.save("generated_image.png")
Step 4: Additional Configuration (Optional)
For a more interactive experience, consider installing and using Jupyter Notebook:
pip install jupyter jupyter notebook
Alternatively, GUI tools like invokeAI or automatic1111 provide user-friendly interfaces for Stable Diffusion.
Troubleshooting and Tips
Common Issues and Solutions
- CUDA Errors: Ensure your NVIDIA drivers and CUDA toolkit are correctly installed and updated.
- Memory Errors: Reduce image size or use lower precision, such as torch_dtype=torch.float16.
Optimization Tips
- Use efficient prompts to minimize GPU load.
- Manage GPU resources effectively for smoother operation.
Community and Support
Engage with the community for additional resources and support. Visit forums, join discussions, and explore documentation to stay updated on the latest advancements.
Conclusion
By following this comprehensive guide, you now have all the tools and knowledge needed to install Stable Diffusion 3. Dive into the world of AI-powered image generation and unlock your creative potential. If you encounter any challenges, the community and support resources are there to assist you.
FAQs
What is Stable Diffusion 3?
Stable Diffusion 3 is an advanced AI model designed for generating high-quality images.
What are the system requirements for Stable Diffusion 3?
You’ll need an NVIDIA GPU with CUDA support, at least 8GB of RAM, and 10GB of free storage.
How do I fix common installation issues?
Refer to the troubleshooting section for solutions to common problems like CUDA errors and memory issues.
Where can I find support for Stable Diffusion 3?
Engage with the community through forums, official documentation, and support groups to address challenges and learn best practices.
Start your journey with Stable Diffusion 3 today and bring your AI projects to life!
Generate Images, Chat with AI, Create Videos.
No credit card • Cancel anytime

